|
Knot Tying |

Once a suture or ligature is in place, it needs to be tied securely. There are a variety of methods of accomplishing this task, and some basic methods are shown here. Like any mechanical skill, knot tying needs to be practiced if you want to become proficient. You are proficient when you can tie knots quickly, efficiently, without looking at the knot, and without thinking too much about the knot. Right-handed tying is shown here. Left-handed tying is exactly the reverse.
|
The First Throw (Overhand Throw) |
|||
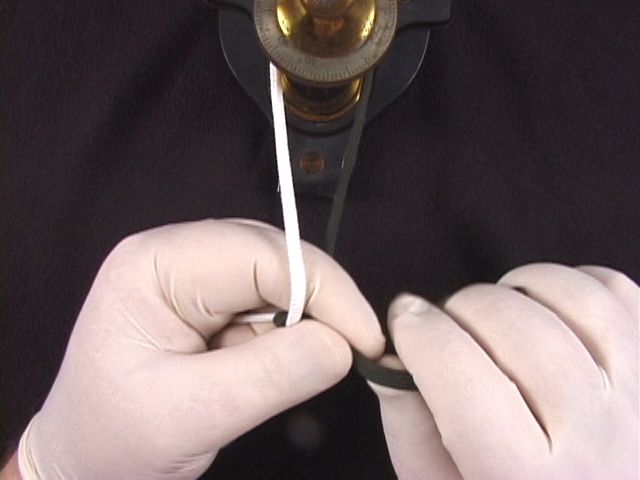
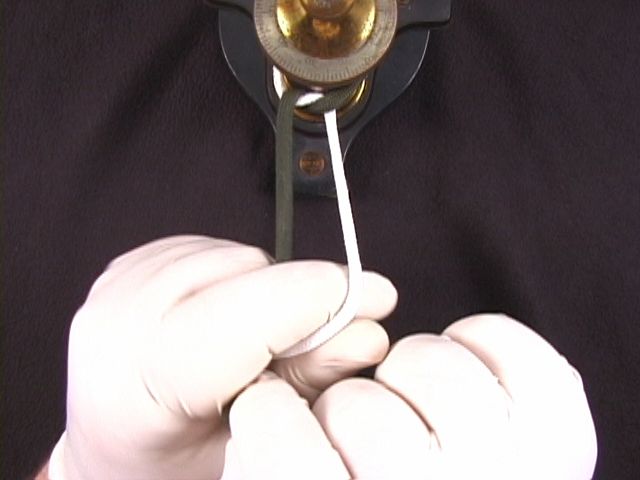
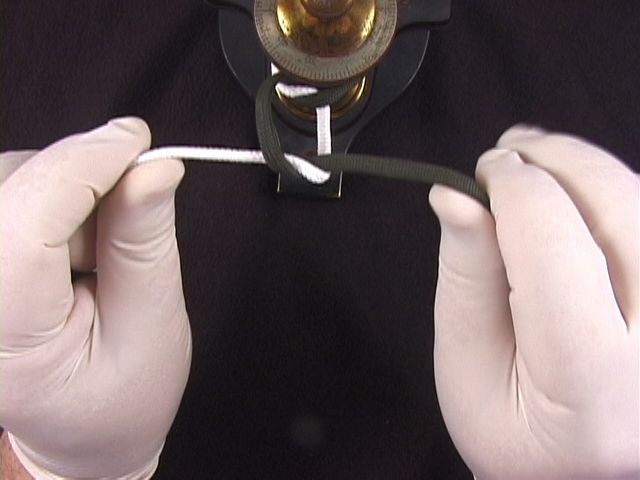
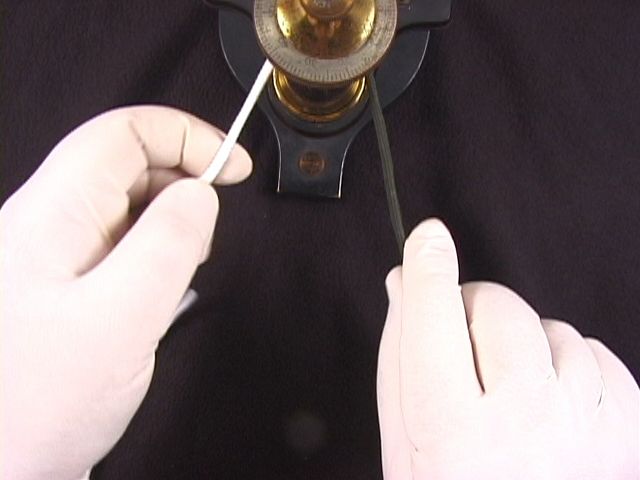 1. Begin with the long end of the suture in your left hand and the short end in your right hand. If the short end is too short, you will have difficulty in tying it. If it is too long, it will flop around and get in the way of your tying. |
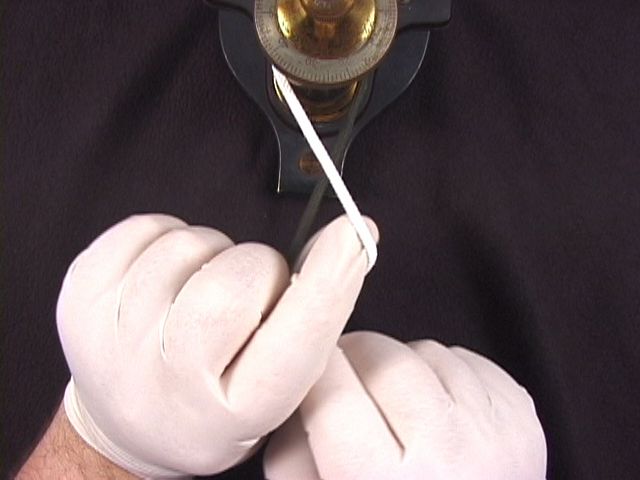 2. Use your left index finger to push the left thread over the right thread, creating an opening between them.
|
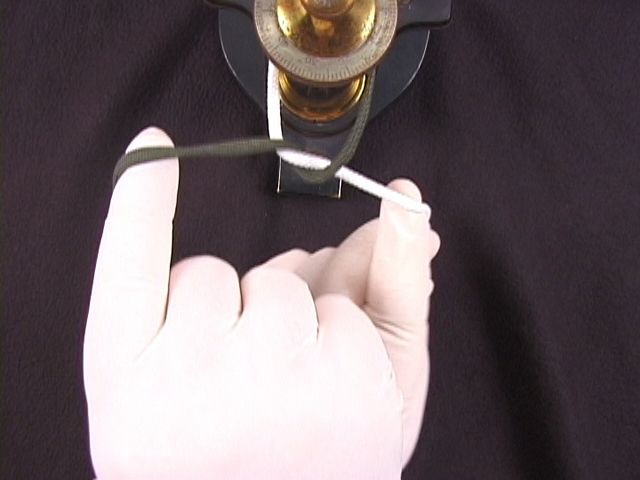
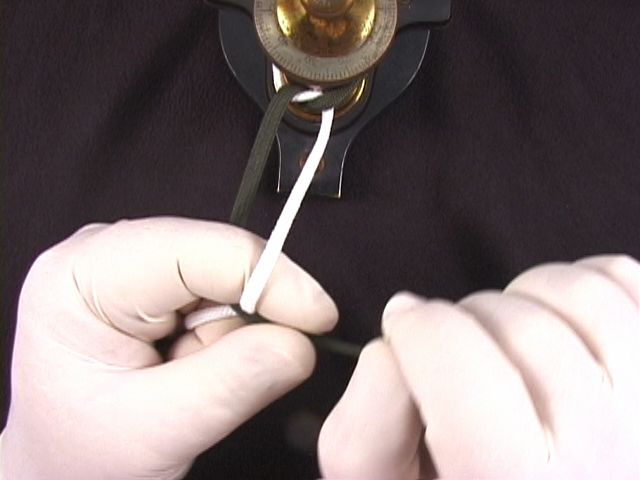
 3. Swing your left thumb up through the opening you have created. |
|
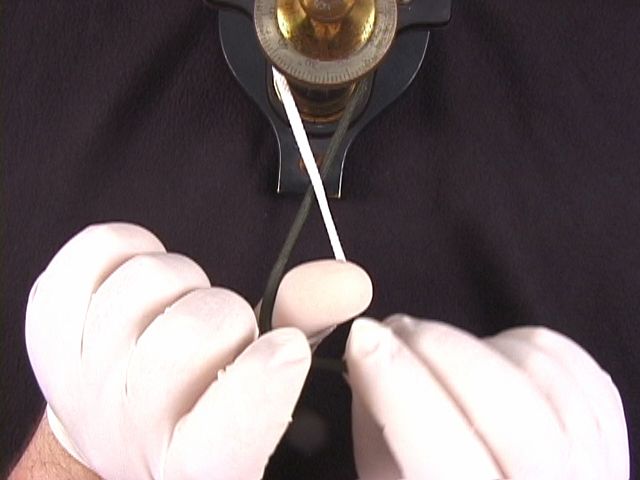
 4. Lay the right end of the thread over your left thumb and pinch it between your thumb and index finger. |
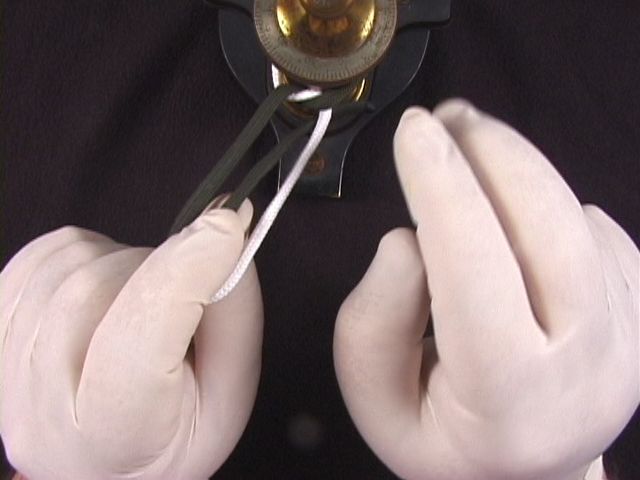
 5. Use your left index finger and thumb to push the thread down through the opening, bringing it out the other side, where your right hand can grab it. |
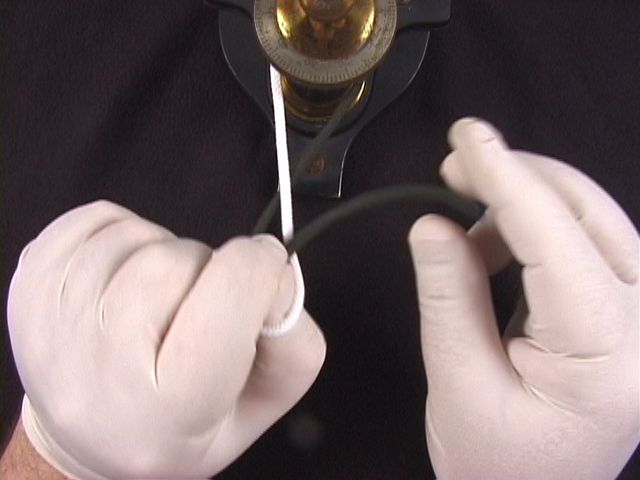
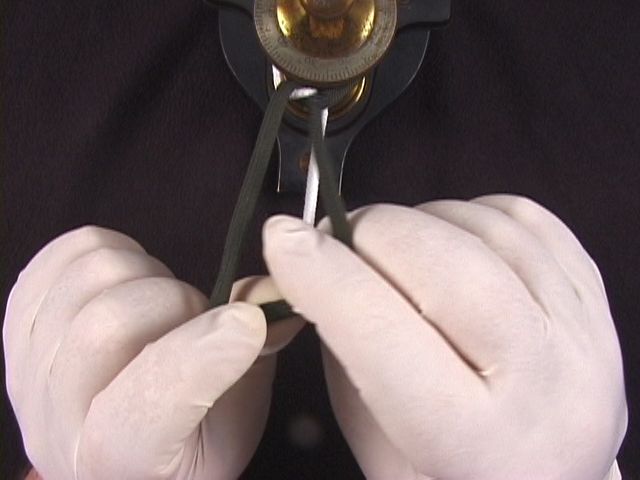
 6. Use your two index fingers to tighten the knot. In this picture, the hands are crossed to allow the threads to lay down flat. It is preferable for the knot to lay down flat as it is stronger. |
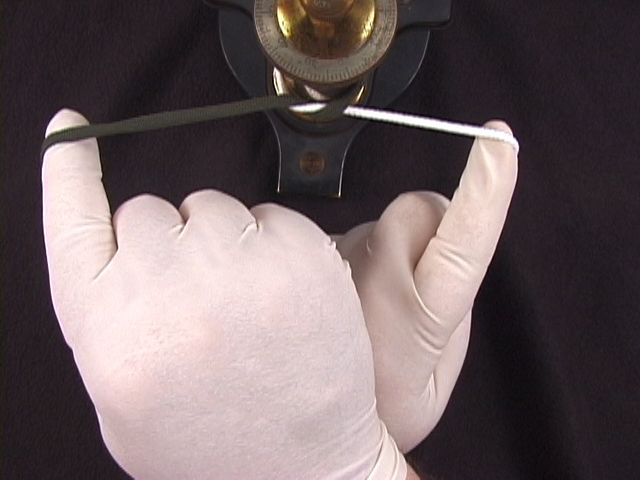 7. Tighten the knot using your index fingers. Some material is very strong and won't break no matter how much tension you apply. Other material is more fragile and will snap if you apply too much tension. With experience handling different suture materials of different thicknesses, you will learn how much tension to apply. |
|
The Second Throw (Underhand Throw) |
|||
|
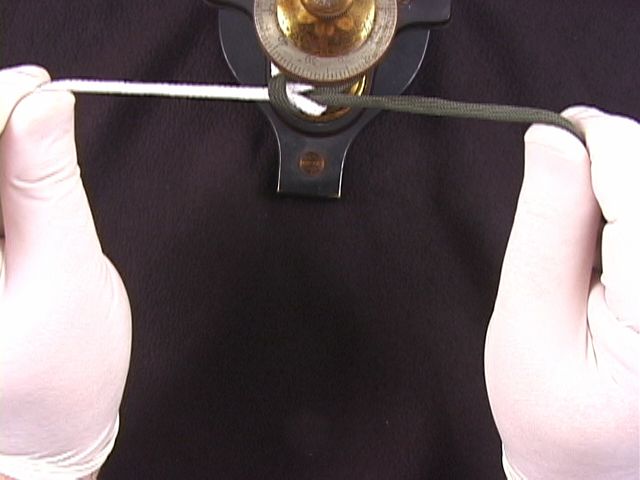
Underhand Throw (2nd Throw) Enlarge |
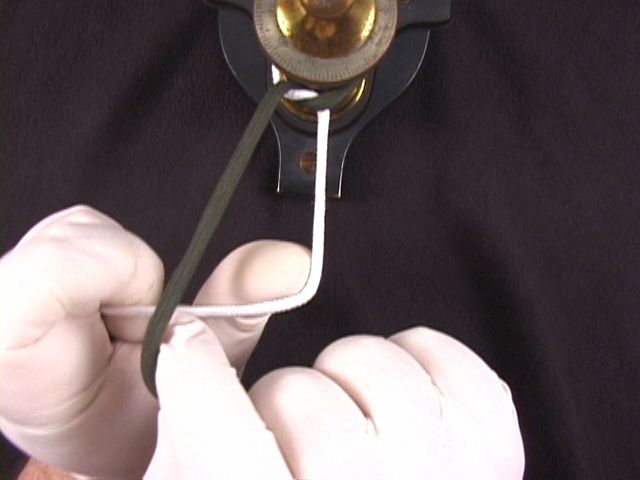 1. Use the thumb of your left hand to push the left thread under the right, opening a space between them. |
 2. Pinch your left index finger and left thumb together. Rotate your left index finger through the space you just created. |
 3. Use your right hand to bring the right thread to your left pinched thumb and index finger. Grasp the thread between them. |
 4. Rotate the left thumb/index finger back through the opening, bringing the right thread through the opening. |
 5. Re-grab the right thread with your right hand.
|
 6. Pull the loose ends, laying the second throw down squarely on the first. |
 7. Tighten the ends to complete the knot. |